# Logging in
Start by accessing https://mdp.nsrc.org/
You should see the following page:
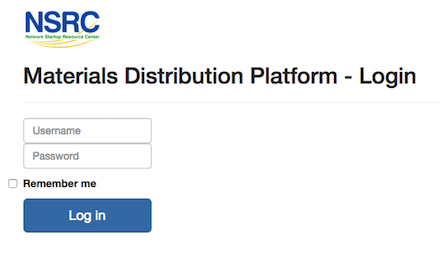
Enter the username and password, and click on `Log in` to proceed.
Note: checking `[] Remember me` sets a cookie to avoid having to log in
next time.
# Collections
Once logged in, you should be presented with a list of collections:
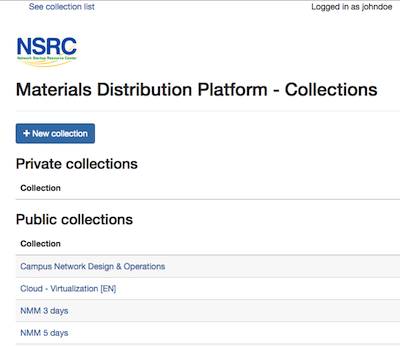
Notice that there are both *Private* and *Public* collections.
* *Private* collections are only visible to your user
* *Public* collections are visible to all users
Note: only privileged users may create a *Public* collection
To view and/or edit a collection, click on its name. We'll use
"NMM 5 days" as an example.
# Viewing a collection
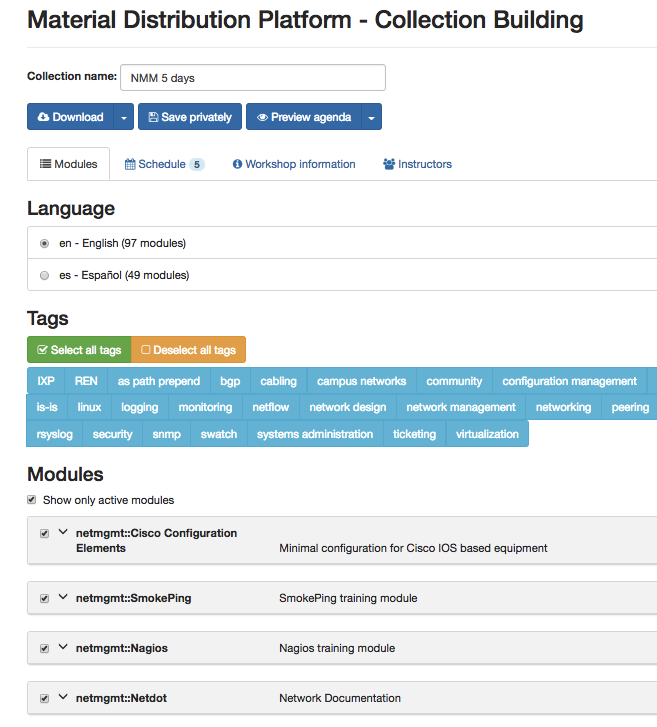
When clicking on a collection, the default view is
the list of modules in that collection.
Below the illustration, the different fields and actions are described.
## Actions
* Collection name
This is where the collection's name is defined.
* Download
The `Download` button is used to download a bundle of all materials
in zip format.
By default, the zip file will contain all *rendered* materials (that is,
converted from their source format, into a ready-to-use format such as
PDF or HTML), with all documents linked into the Schedule (Agenda).
By selecting the extended action (small triangle) on the right side of
the `Download` button: 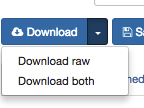
... one can choose to download:
* a *raw* bundle of materials, containing UNformatted source documents. This
can be useful if the instructor will be presenting from source PowerPoint
or OpenOffice documents, or make changes to the MarkDown sources. Note
that in this case, only the *raw* materials will be linked into the
Schedule/Agenda.
* a bundle containing *both* sets of materials, with the *rendered*
versions linked into the Schedule/Agenda.
* Save as public / Save privately
Note: This button will behave differently depending on whether you
are logged in as a privileged user or not.
Using this button, you can:
* Save the collection, leaving the name untouched: this overwrites the
current collection with the updated version (if any changes were made)
* Save the collection, under a new name: this leaves the original collection
untouched, and any changes are saved under the new name.
If you are logged in as a non-privileged user, you can only save
the collection as a private one (i.e.: not visible to other users).
If you are logged in as a privileged user, you will be able to Save
the collection as a *Public* collection (i.e.: visible to all users).
This is default, but it is still be possible to save the collection
as a private one by using the extended action triangle on the right
side of the button 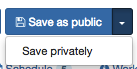
* Preview agenda
Clicking on this button will pop-up an preview of the Agenda/Schedule
(see the Schedule section) as it will look. At this point, links in the preview don't work yet
(this is being implemented).
On the right side of the button, you can select the "Preview instructor
notes" extended action, which pops up a preview of the Schedule, but
this time with only instructor-specific information (instructions and
notes) linked in.
## Tabs
Below we'll describe the different tabs for Collection building, and
explain what they do.
### Modules tab
This is where you can select which modules will be included in the
collection. If you're editing an existing collection, modules can
be added as well as removed.
#### Language
If available, the different languages (and the number of modules available
in each) will be displayed. When selecting a language, the list of Modules
in the Modules section is updated to reflect which modules have been retained
for this Collection, in the selected language.
Note: it's possible to include modules from different modules in the same
collection.
#### Tags
Using the tags, you can hide/show modules that match a given tag.
Tags, specified in the MDP file (see the MDP File Format section) are
automatically scanned from the list of available modules on the Material
Distribution Platform, and presented here.
Click on a given tag to hide/show modules that contain this tag.
Alternatively, use the `Select all tags` / `Deselect all tags` checkboxes
to show/hide all modules.
#### Modules
This is used to select the modules that will be included in this collection.
Use the *Tags* selector (see Tags section) to limit the view to only modules
matching the selected Tag(s).
Note: the `Show only active modules` option will, if activated, only
those modules that have been selected (checkbox is marked) EVEN if all
tags above are selected.
If `Deselect all tags` is checked in the Tags section, then no modules
will be visible in the Modules list - this does NOT clear the list of
active modules in the collection - only what is currently displayed on
the screen is affected.
* Module details and versions
To see the details for a given module, click on the little downward
icon to the left of the module name:

This will expand the module information as shown below:
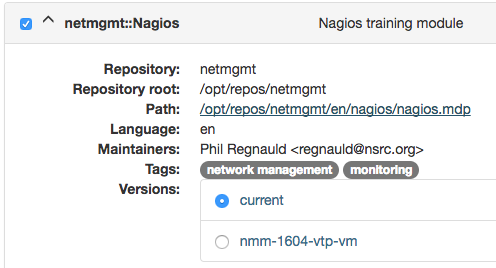
... if there are multiple versions for a given module, here it's
possible to select which one will be used in this particular Collection.
In the example above, the `current` version is selected. If it's the
`nmm-1604-vtp-vm` that is desired, simply click on it.
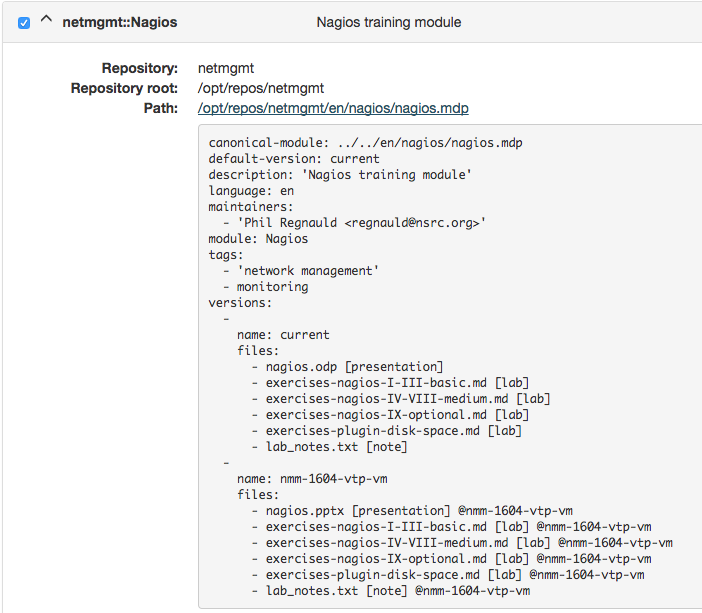
It's also possible to see the raw MDP file for the module definition.
To do this, click on the file path to the right of the `Path:` information:
### Schedule tab
The Schedule tab is where the composition of the Agenda/Schedule is done.
xxx
Note: although changes to the Modules and Schedule are visible in the Agenda
Preview, no updates are made to the on-disk Collection information until the
"Save as [public|private]" button has been pressed. Don't forget to save when
you are done!
### Workshop information tab
### Instructors tab
# MDP File Format